Set your Linux distro for X410
We're assuming you have already configured your Linux/WSL distro for working with X410. You should also check the requirements such as D-Bus for your Linux GUI apps and make adjustments to your startup scripts.
Install your Linux GUI app
For this example, we'll be using GNU Octave.
sudo apt install octaveCreate a Windows batch file (*.bat) for launching your Linux GUI app
The executable for GNU Octave is octave and you may need to add a --gui switch in order to start it in graphical user interface.
@echo off

REM ### Start X410 in Windowed Apps Mode. If X410 is already running in Desktop Mode,
REM ### it'll be terminated first without any warning message box.

start /B x410.exe /wm

REM ### Start GNU Octave

ubuntu2004.exe run "bash --login -c 'nohup octave --gui >/dev/null 2>&1 & sleep 1'"
Create a VBScript file for silently launching a Windows batch file
When you run a Windows batch file, a Windows Command Prompt console is always popping up. You can avoid it by using the VBScript file shown below. When using this VBScript file, you must place it in the same folder as your Windows batch file.
If WScript.Arguments.Count <= 0 Then
    WScript.Quit
End If

bat = Left(WScript.ScriptFullName, InStrRev(WScript.ScriptFullName, "\")) & WScript.Arguments(0) & ".bat"
arg = ""

If WScript.Arguments.Count > 1 Then
    arg = WScript.Arguments(1)
End If

CreateObject("WScript.Shell").Run """" & bat & """ """ & arg & """", 0, False
Create a Windows shortcut

Let's assume that the files created in Step 3 (start-octave.bat) and 4 (bat-launcher.vbs) are in c:\wsl folder. You can then create a Windows shortcut for wscript.exe as shown below; wscript.exe is a Windows built-in executable for running VBScript files.
wscript.exe "c:\wsl\bat-launcher.vbs" "start-octave"
Once a shortcut is created, you can use it for directly starting octave without any Windows Command Prompt console popping up.

If you want to change the icon for the shortcut, you need to prepare a separate '.ico' icon file and select it from » for the shortcut. You can also select a default icon from the following file in Windows.
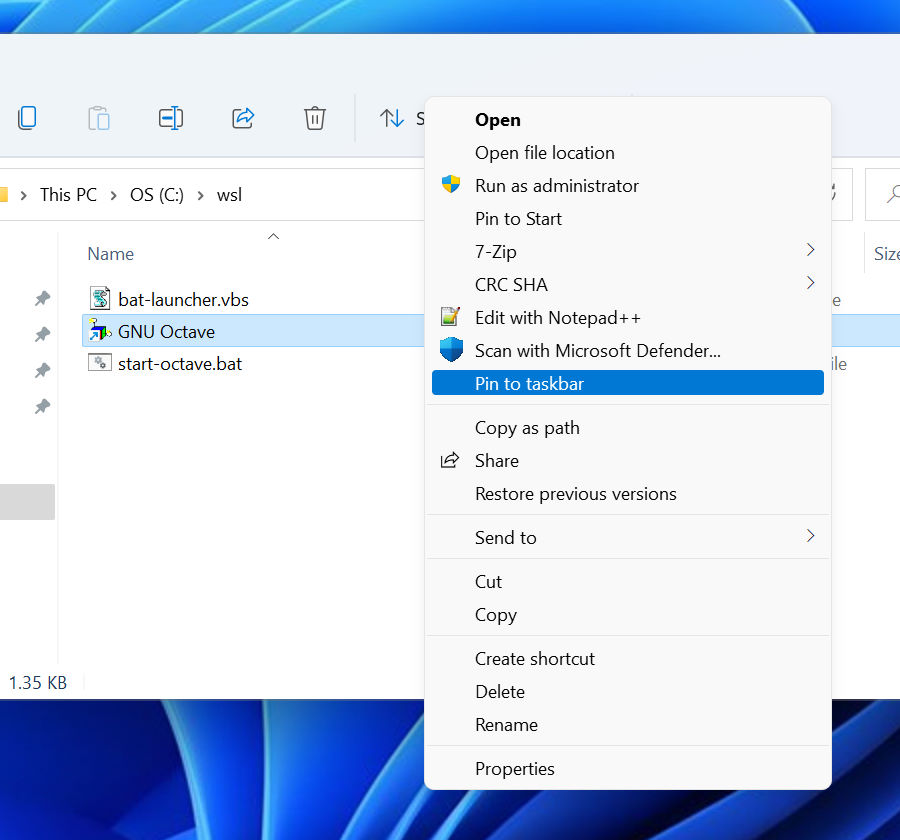
%SystemRoot%\System32\SHELL32.dll'Pin to Start' or 'Pin to taskbar'
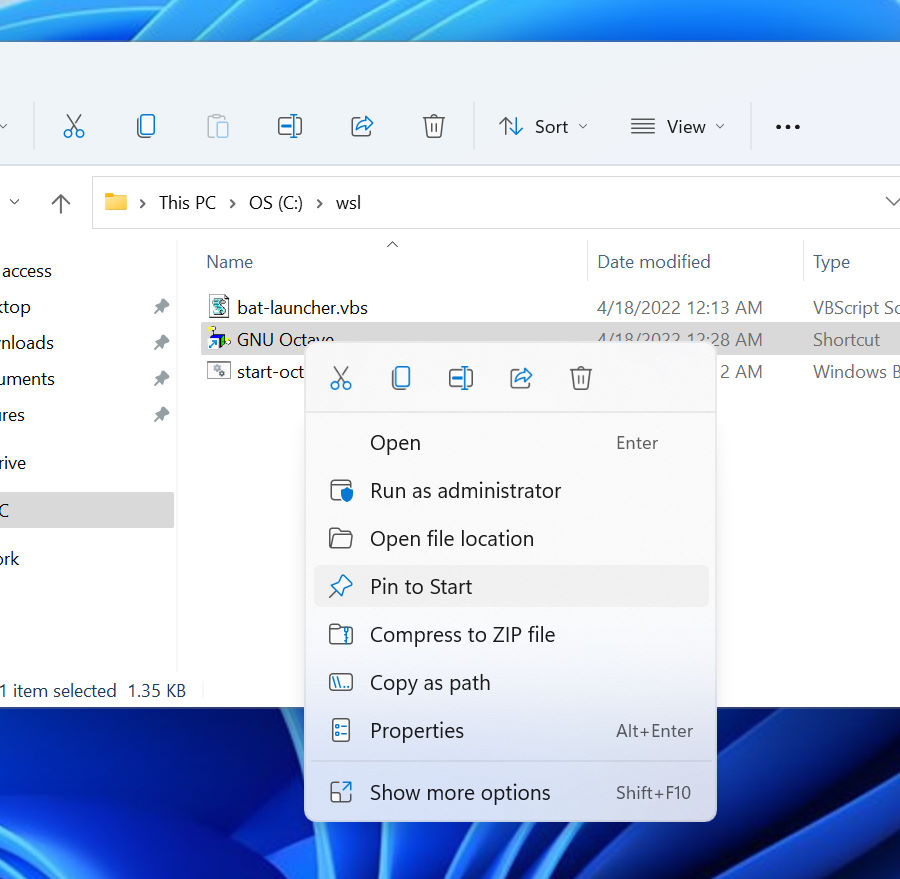
The Windows shortcut created in Step 5 also enables you to select '' from its right-click popup menu. In order to get to the '' menu in Windows 11, you first need to select '' menu; in Windows 10, it's shown in the same initial popup menu.